Hibernation Effort

Yesterday (Dec 9) Peter and I went up to ML to work on the following:

  • Remove Heliax cables – Together we were able to remove 29 cables that consisted of a mix of 9-m, 7-m, and 2-m lengths.  The cables are stored in the support cone below the telescope and are separated by lengths.  We believe we can complete the removal of the Heliax cables within the platform with 2 more days of work (requires two persons).
  • Repair right rear exist frame – When we arrived we noticed the metal structure holding the canopy down had broken away.  It turn out that the two bolts holding it down were stripped (possibly wrong size to start?) so we replaced them with the correct size.  Photo after repair shown here.
New hold down bolts, this one showing the left side.
Photo of frame after replacing hold down bolts.  The horizontal curved support structure that came loose is circled in blue.  
  • Remove AC plugs for ROACH-2 chassis –  When we arrived we found 2 of the 4 ROACH bays were powered up unintentionally via the WTI network power switch, probably as a result of a power failure recovery routine.  In order to prevent this from happening in the future we removed the AC power plugs to the rear of all 32 ROACH-2 units.  We left the WTI units powered on so that we can perform remote reboots of network switches and other accessories.
Photo of on of the four ROACH-2 bays with WTI Network Power Switch at top.
  • Pull long extension cord from Eaton UPS to Control Container – Being that we will no longer power up the ROACH-2 hardware, we decided to use the large Eaton UPS, model 9170+, to power the PCs and other accessories within the Control Container.
Eaton 9170+ UPS
Yellow power cord carrying UPS power into Control Container.

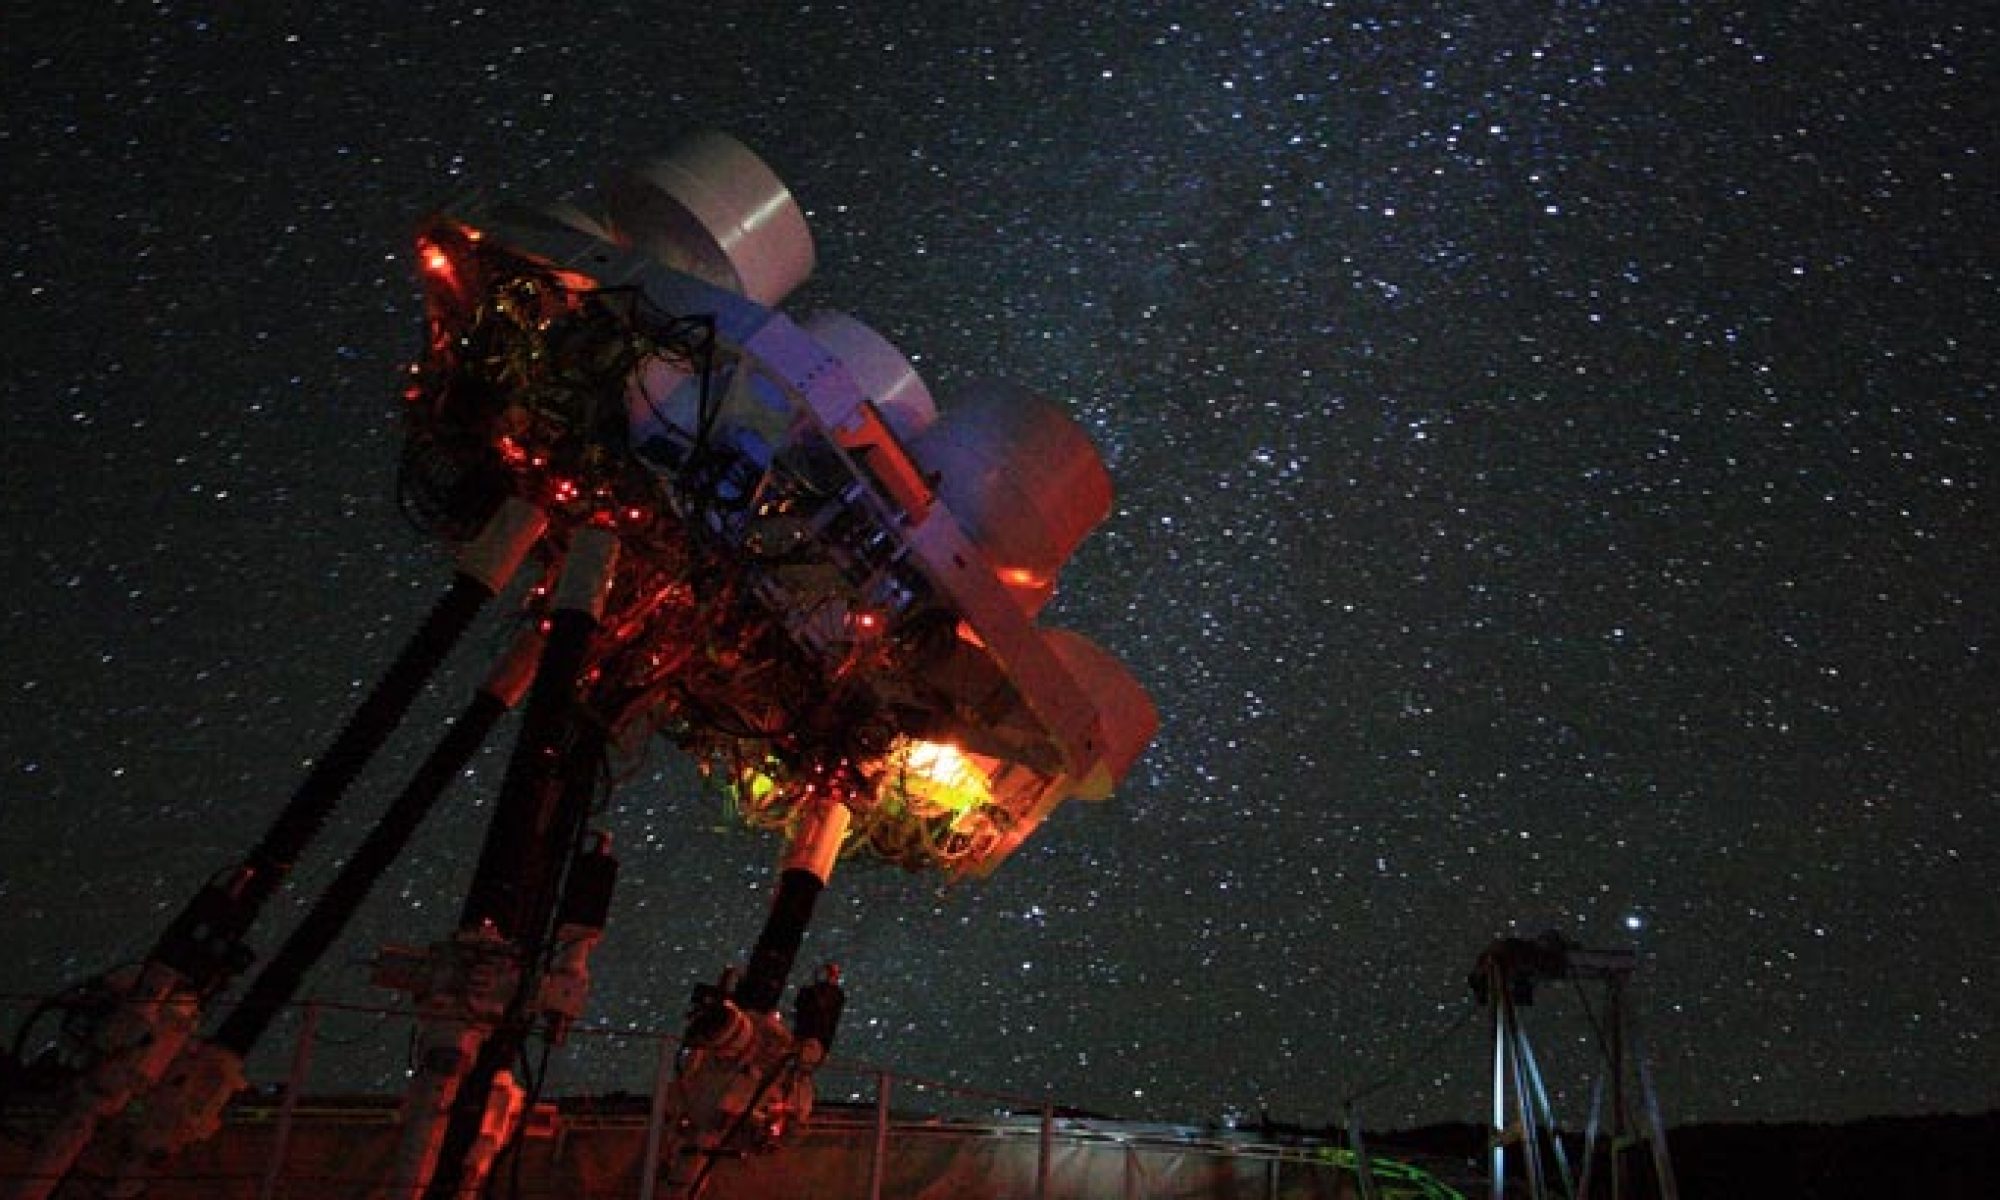
I’ve attached the 6 views of the telescope as it stands today.  There is still much to do but hopefully with the stiff Heliax cables out of the way things will go a bit faster.

-Peter, Derek

View 1
View 2
View 3
View 4
View 5
View 6

Metallic Painting of 3rd and 4th Dishes

Today we managed to paint two more dishes, this time using the 843AR-3.78L super shield silver-coated copper conductive paint that came in the 1 gallon can along with a spray gun.  We received two paint guns, one large and one small, both with 3 adjustment knobs for controlling spray pattern width, paint volume, and air volume.  The gun orifice was set for a vertical fan shaped pattern and Sally adjusted the three controls to produce the best spray results for this acrylic paint.

Peter with filling paint gun on left, Sally performing calibration and test sprays on right.

The surfaces for both the primary and secondary were cleaned using isopropyl alcohol to remove dirt and oil residue.

Cleaning of Rx1 and Rx3 primary reflector surfaces.  Note the striking difference in surface color with Rx1 being blue and Rx3 appearing gray.  Rx3 had many small cracks in the surface and portions appear to have been repaired with some type of resin.

We began painting the Rx1 dish first but had to stop due to rain.  Peter went home to get a canopy to cover the area.  After erecting the canopy over the work area we found the paint gun to be clogged so we now know that if you need to wait more than 10 minutes or so we need to empty the gun and clear it out with acetone.

Covering work area with canopy provided by Peter.
Left photo – first coat of paint on Rx1, right photo – finishing 4th coat.
Painting of Rx3 secondary reflector on left, after completion of 4 coats on right.
Completion of both dishes and left to cure for 24 hours in lab.

Initial DC resistance measurements were consistent at around 0.8 to 1.2 Ohms for all 4 surfaces.  We will wait 24 hours for the paint to cure then lightly sand the surfaces tomorrow.  I will update the post cured DC resistances in the comments tomorrow.  In summary, painting the dishes with the spray gun was much less time consuming, and more importantly, provided a much better coverage on the 1.2m primary dish surfaces.  And of the two guns we received, Sally reported that the smaller one provided better control.

To date we have painted 4 of the 6 dishes (7th dish is with Al coating, no TiO2) and 2 more remain to be brought down from Mauna Loa for painting.

Sally, Peter, and Derek

Rx2 Dish Swap with Aluminum Spray ~ Tsys Measurements

Today we swapped the old dish with the new dish that has the aluminum spray on the primary and secondary. We took several measurements of old dish, no dish, new dish and Rx1 Secondary for comparison. Here are the results:

Temperature: 280 K

Rx1 w/ Secondary Alum Spray Rx2 Old Dish Rx2 No Dish Rx2 New Dish
Y Factor (db) IF1: 4.41

IF2: 4.55

IF1: 3.55

IF2: 3.42

IF1: 7.77

IF2: 7.17

IF1: 6.31

IF2: 5.92

Y Factor IF1: 2.76

IF2: 2.85

IF1: 2.26

IF2:  2.2

IF1: 5.99

IF2: 5.22

IF1: 4.28

IF2: 3.91

Tsys IF1: 158.9

IF2: 151.28

IF1: 221.42

IF2:  233.26

IF1: 56.13

IF2: 66.45

IF1: 85.29

IF2: 96.20

** Measurements are averaged over 4 rounds of ambient load and sky

We were unable to do a comparison with Rx3 as it was starting to warm up. We will do Rx3 another day.

Thank you,

Peter, Ranjani, Adam, Sally

SEFD discrepancy between tracks for Rx0 X pol and Rx2 Y pol (Feb 26 2021)

Starting around beginning of February (for Rx0 X pol) and around Feb 11 (for Rx2 Y pol), we are seeing intermittent SEFD issues which is visible even in the raw data as seen below

Rx0 X pol (2 Mars datasets from Feb 26 observations)
Rx2 Y pol (2 Mars datasets from Feb 26 observations)

As seen from the 0-* in the first plot, the earlier data set has much better noise performance than the later dataset.
The second plot shows similar behavior for Rx2 Y pol between the 2 datasets taken on the same day.

For Rx2, there is a clear problem as seen from the LF plot from the database for both I and Q inputs. Showing only the Q input. The I input has a similar behavior
Rx2 Y pol Q
As seen from the above plot, there is no problem with the LF for the period of the first dataset (between ~ 5:12 and 5:35 UT). However, for the second dataset, the LF fluctuations have become much worse. We have to examine the signal pathway to see what could be causing this behavior.